Utilising groups
In order for HCM to work properly, users, checks and recency items need to be grouped, and applied to each other to unlock the functionality of the HCM system.
Assigning user groups
If you aren't able to view any users on your roster page with an overlord account - you may have not set up any user groups for your users. If a user is not part of a user group, they cannot be viewed or manipulated in the roster.
Firstly, navigate to User Groups (0), where you'll be greeted with an empty page ready for you to make changes.

This is where you can create new groups and manage existing ones. A user group can be used for a variety of reasons, and is entirely up to you. Mostly, they are defined for groups of users who will share checks, recency items and distribution. This may also be useful when submitting OPSCOMS to certain job roles or experience level.
The more groups of different types and categories you set up (we also recommend having an All Pilots group for your rostered pilots) the easier it is when managing your users's checks, and the more flexibility in areas like the roster. You can make as many user groups as you like - there is no limit.
Once you've clicked the Create New Group button, you can enter four relevant details for whatever group you'd like. For now, it might be best to create an All Users group with every user (including yourself) that you've added to the account so far.

Here, just pick a title that will represent the group and be easily identifiable, a description to explain which users should be a part of it, a colour that will represent the group on pages like the roster, and the sort order of the group within the roster (the lower the higher it will appear).
Now, your new empty group should be visible in the User Groups page.

To edit the group details you just set, click the Edit Description button to make changes.
To add your users to the group, head to Edit Members.
Select the users you want to be included from the Select Users dropdown (you can select multiple at once).

Now, when you select Add Crew in the top bar, your select users will be automatically added and saved to the user group you're editing, and can be applied to several different tools within HCM.

Now you can select several different categories in your operation to set up user groups for using the same method. If you need to remove a user from a group, simply select the Trash icon next to their name in the Edit Members view.
For the best usage of user groups, remember that one user can be added to several groups within HCM. This can give you more niche and customisable sections of your user base in your account, and speed up your workflow when we get to more advanced usage.
Grouping checks and recency
To apply checks and recency to a user group for legality checks, a qualification group needs to be created.
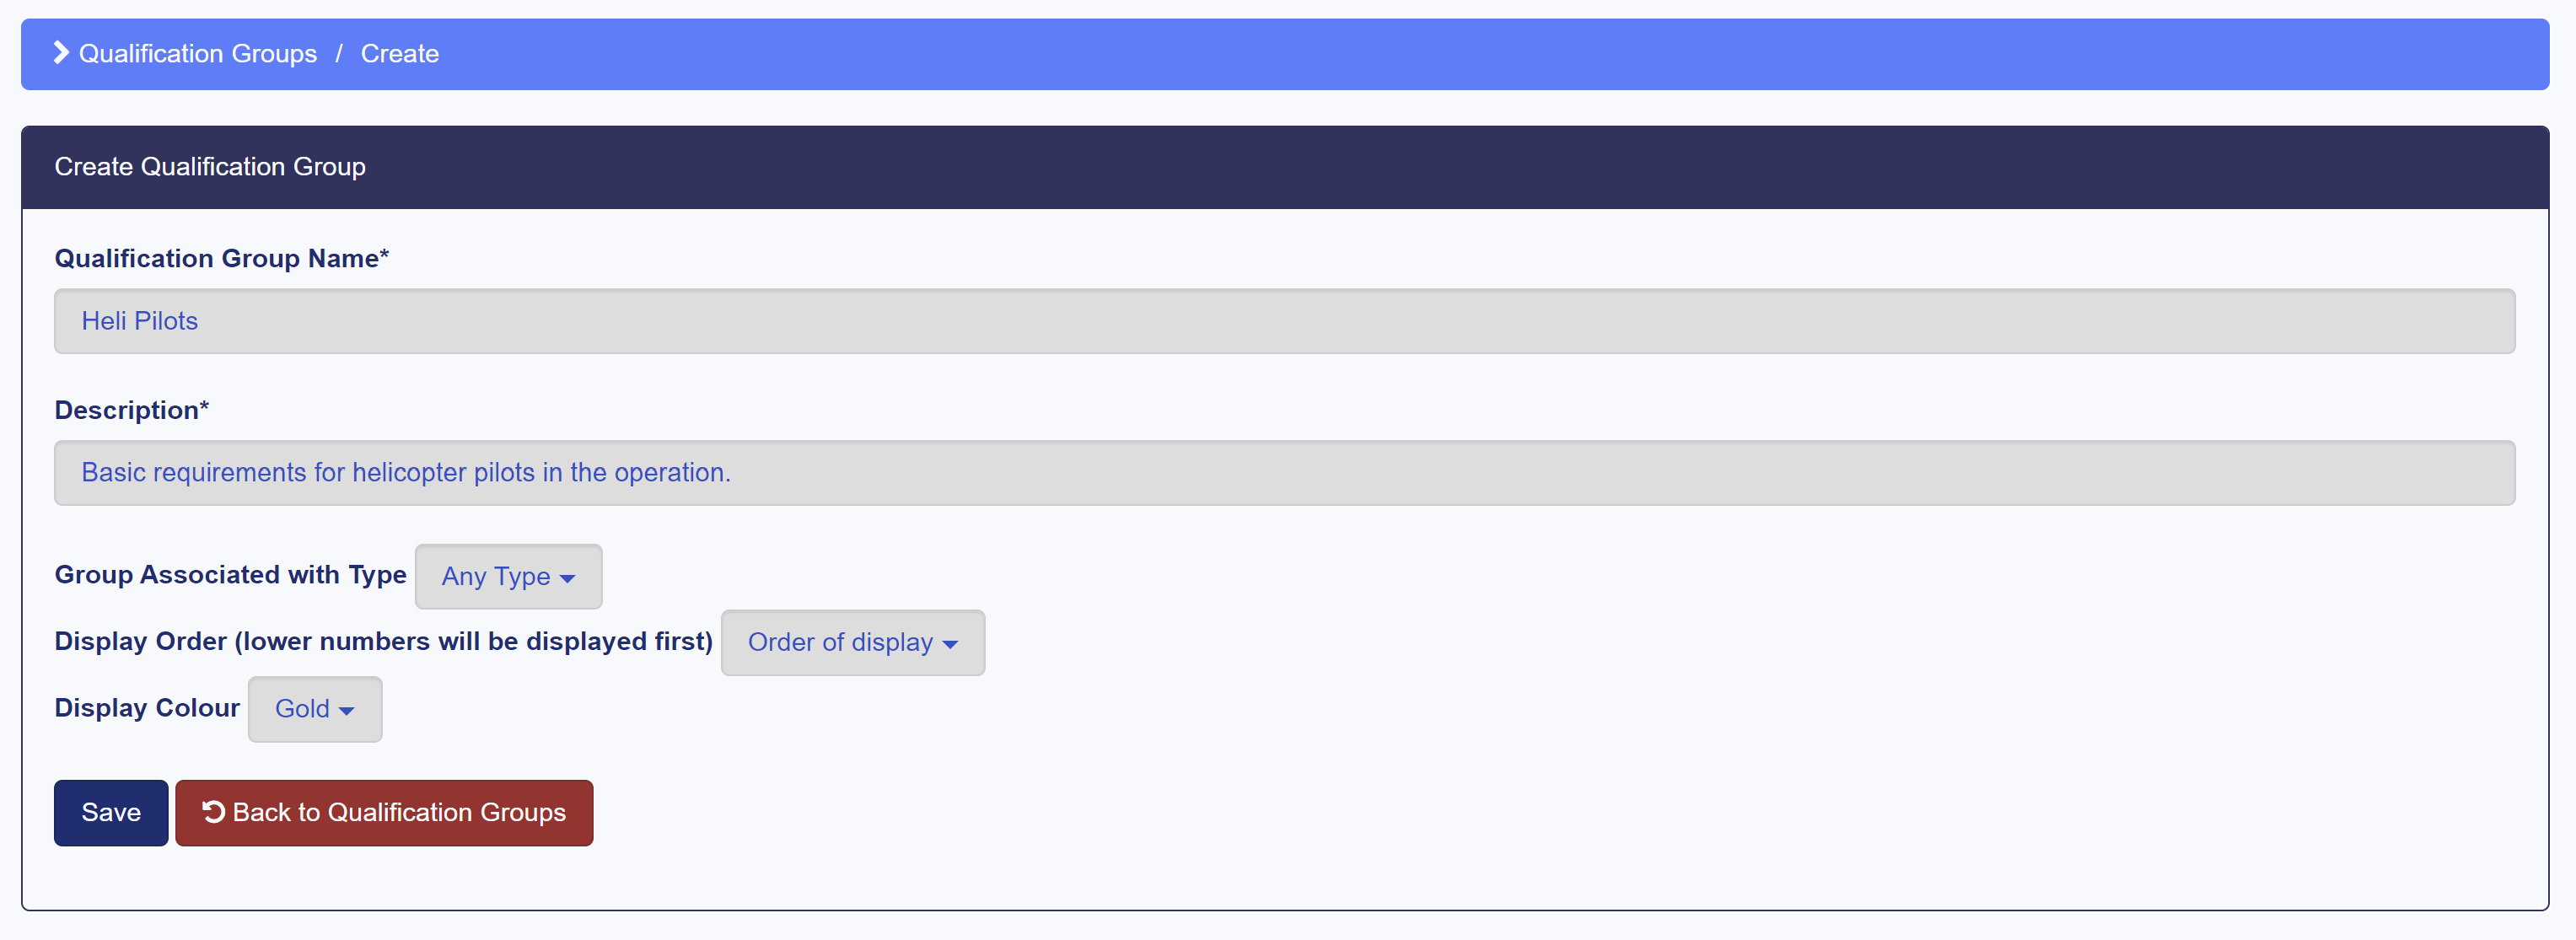
Navigate to Qualification groups in the overlord section of the sidebar, and select Create New Qualification Group.
Now, you can define a group with a description that you want to add specific checks and items to - and select a display colour to easily identify it.

You can now configure what checks to be included in the group using Configure Checks and Recency Items, select your desired checks and items from the dropdown menus and select Apply Changes.

Finally, now you have a qualification group linked to your defined checks and recency items, you must apply the qualification group to one or more of your user groups using the Apply to User Group button.
Now, you should have a fully configured qualification group linked to a select user group you've defined.

All your setup data is now input and configured to be managable in HeliCrewManager's system, and take full advantage of the calculation engine. Now, let's have an introduction to the most powerful piece of HCM: the roster.